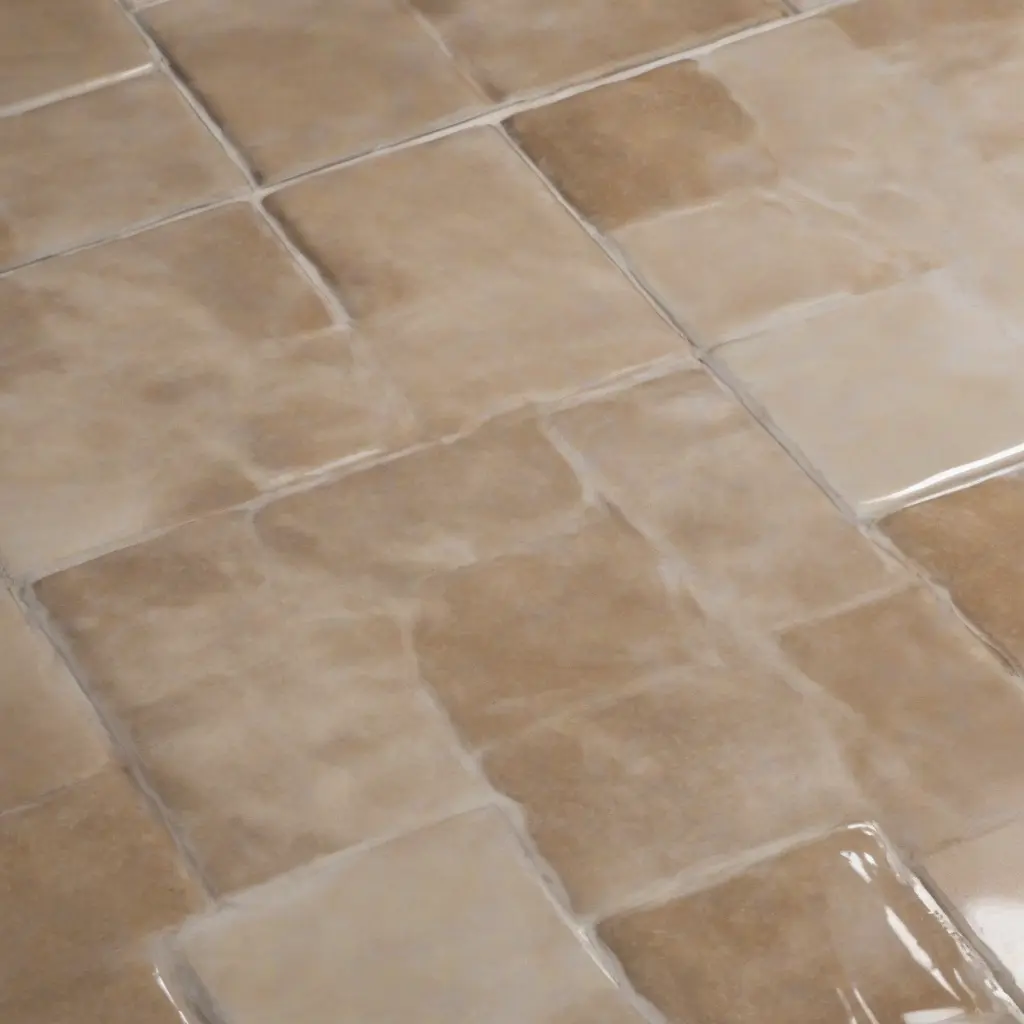
Maintaining the cleanliness and appearance of grout and tile can seem daunting, especially as it is prone to stains and discoloration over time. To effectively restore your tile surfaces and grout lines, a systematic deep cleaning process is essential. This article will guide you through each step necessary to achieve sparkling clean tiles and rejuvenated grout, ensuring not only aesthetic appeal but also improved hygiene. Whether you’re preparing for a special occasion or simply wanting to uplift your living space, following these steps will help keep your surfaces looking fresh and new.
Gathering Essential Cleaning Supplies
Before starting the deep cleaning process, gather all necessary supplies to ensure a smooth operation. You will need a stiff-bristled brush, a mop, buckets, a vacuum cleaner, cleaning solutions such as vinegar and baking soda, and an optional steam cleaner. Additionally, gloves can provide protection for your hands during the cleaning. Having these tools at your disposal will save time and enable you to focus on effective cleaning techniques without interruptions.
Preparing the Area for Cleaning
Preparation is crucial for an effective cleaning session. Start by clearing the area of any furniture or obstacles that may hinder movement. Vacuum or sweep the tile to remove loose dust, dirt, and debris; this will prevent scratching the tile surface during scrubbing. Ensure proper ventilation by opening windows or using fans, especially when using chemical cleaners. Taking time to prepare the area sets the foundation for a thorough cleaning and maximizes the efficiency of your efforts.
Choosing the Right Cleaning Solution
Selecting an effective cleaning solution is vital for both tile and grout restoration. For natural tile surfaces, a mixture of vinegar and warm water is often sufficient for deep cleaning. For tougher stains in grout lines, consider using a paste made from baking soda and water. For commercial products, ensure they are safe for your type of tile, as some substances can cause damage. Identifying the right solutions helps in penetrating grime without harming your surfaces.
Applying the Cleaning Solution
Once you have chosen your cleaning solution, it’s time to apply it to the surfaces. Use a mop or a soft cloth to spread the solution evenly across the tile and grout areas. Allow the solution to sit for a few minutes to break down the dirt, grime, and stains effectively. For grout lines, consider using a stiff-bristled brush to apply more pressure and help the solution penetrate deeper. This soaking step is crucial for achieving a thorough clean and saving time during scrubbing.
Scrubbing Tile and Grout
After allowing the cleaning solution to set, it’s time to scrub the tile and grout surfaces. For tiles, use a damp mop or cloth, making sure to apply sufficient pressure to lift any stubborn stains. When scrubbing grout lines, employ a stiff-bristled brush, moving in a circular motion to dislodge dirt effectively. Focus on one section at a time to ensure thorough cleaning. This step will greatly enhance the appearance of both the tiles and the grout, restoring much of their original brilliance.
Rinsing with Clean Water
Following the scrubbing process, rinsing is a fundamental step that should not be overlooked. Use a clean mop or cloth dampened with clean water to wipe away any leftover cleaning solution or dirt residue. This step is crucial to avoid dulling the shine of your tiles or leaving a slippery film on the floor. Change the water frequently to ensure effective rinsing, and be meticulous to prevent any remaining cleaning agents from obscuring your successful cleaning efforts.
Drying the Tiles
Once rinsing is complete, it’s essential to dry the tiles effectively to prevent any water spots or mold growth. Use a clean, dry mop or towels to absorb excess moisture from the tiles. Proper drying not only helps maintain the cleanliness achieved through deep cleaning but also aids in preserving the integrity of both tiles and grout. Consider keeping windows open or using fans to expedite the drying process and enhance ventilation, thus preventing any dampness in the area.
Sealing the Grout Lines
To protect your grout lines from future staining and deterioration, sealing them is a recommended final step. Choose a quality grout sealer and apply it as per the manufacturer’s instructions, using an applicator or small brush for precision. Sealing helps create a barrier against dirt and moisture, significantly prolonging the life of your grout and maintaining the aesthetic of your tiled surfaces. This preventative measure can save you time and effort during future cleanings and keep your floors looking pristine.
Maintaining Clean Grout and Tiles
Once your grout and tile surfaces are restored, regular maintenance is crucial for sustaining their appearance. Daily sweeping or vacuuming can help remove dust and debris before they become stuck. Consider performing a light cleaning with a gentle solution weekly to prevent buildup. Spot clean any stains immediately using appropriate cleaners suitable for your tile type. Investing in proactive maintenance will reduce the need for deep cleaning sessions in the future, keeping your spaces beautiful and hygienic.
Conclusion
Deep cleaning grout and tile can rejuvenate your surfaces, restoring their aesthetics and improving hygiene. By following this step-by-step process and consistently maintaining your surfaces, you can enjoy clean and beautiful tile areas in your home. Remember that regular care is essential to minimize the need for extensive cleanings and keep your living spaces inviting and sanitary.