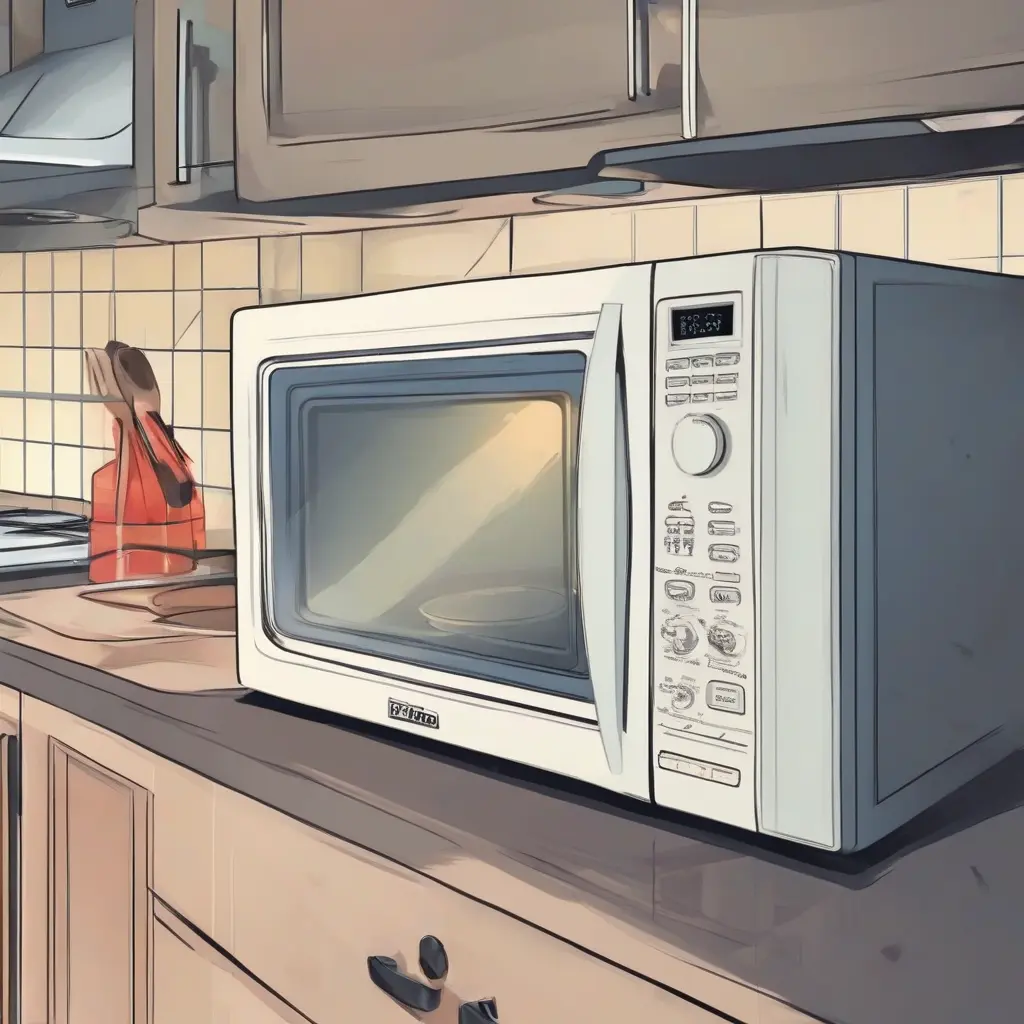
Keeping your microwave clean is essential for maintaining its efficiency and prolonging its lifespan. A deep clean not only enhances its appearance but also ensures that food odors and residues do not linger. Whether you deal with splatters or burnt smells, cleaning your microwave doesn’t have to be a time-consuming chore. This guide outlines a quick yet effective method for deep cleaning your microwave, ensuring it remains hygienic and functional. Follow these steps to make your cleaning session both efficient and hassle-free.
Gather Your Cleaning Supplies
Before you start deep cleaning your microwave, it’s essential to gather the necessary supplies. Most of the items you’ll need are common household materials, making this task simple and cost-effective. You’ll require a microwave-safe bowl, water, vinegar, baking soda, a sponge or cloth, and an optional essential oil for pleasant fragrance. These ingredients not only help break down grime but also neutralize odors effectively. With everything assembled, you can focus entirely on the cleaning process without interruptions.
Prepare the Cleaning Solution
To create an effective cleaning solution, combine equal parts of water and white vinegar in a microwave-safe bowl. This mixture is perfect for loosening grease and food particles that may have accumulated inside your microwave. If you want to add a fresh scent, consider tossing in a few drops of your favorite essential oil. Stir the solution well to ensure a thorough blend, then place the bowl in the microwave. This initial preparation sets the stage for a more manageable cleaning process.
Heat the Cleaning Solution
Once your cleaning solution is prepared, microwave it on high for about five to ten minutes. The steam generated from the water and vinegar will circulate throughout the appliance, softening stubborn stains and built-up residue. This step not only aids in loosening dirt but also makes wiping away the mess significantly easier. Be sure to monitor the process to avoid boiling over, as this can create a mess in itself and reduce the effectiveness of the cleaning solution.
Wipe Down the Interior
After the heating cycle is complete, carefully remove the bowl from the microwave. Use a damp sponge or cloth to wipe down the interior surfaces. The steam will have done much of the hard work for you, allowing for quick removal of food splatters and stains. Pay particular attention to the corners and ceiling of the microwave, where grease tends to accumulate. If necessary, dip the sponge into the cleaning solution for additional cleaning power. This step ensures a sparkling clean microwave interior.
Clean the Turntable and Accessories
While the microwave is cooling down, remove the turntable and any other removable components like the roller ring. Wash these parts separately in warm, soapy water to eliminate any stuck-on food particles. For tough stains, a gentle scrub may be necessary. Make sure to dry them thoroughly before placing them back into the microwave. Cleaning these elements is crucial, as they often trap stains and odors that contribute to a less-than-fresh environment.
Address the Microwave Exterior
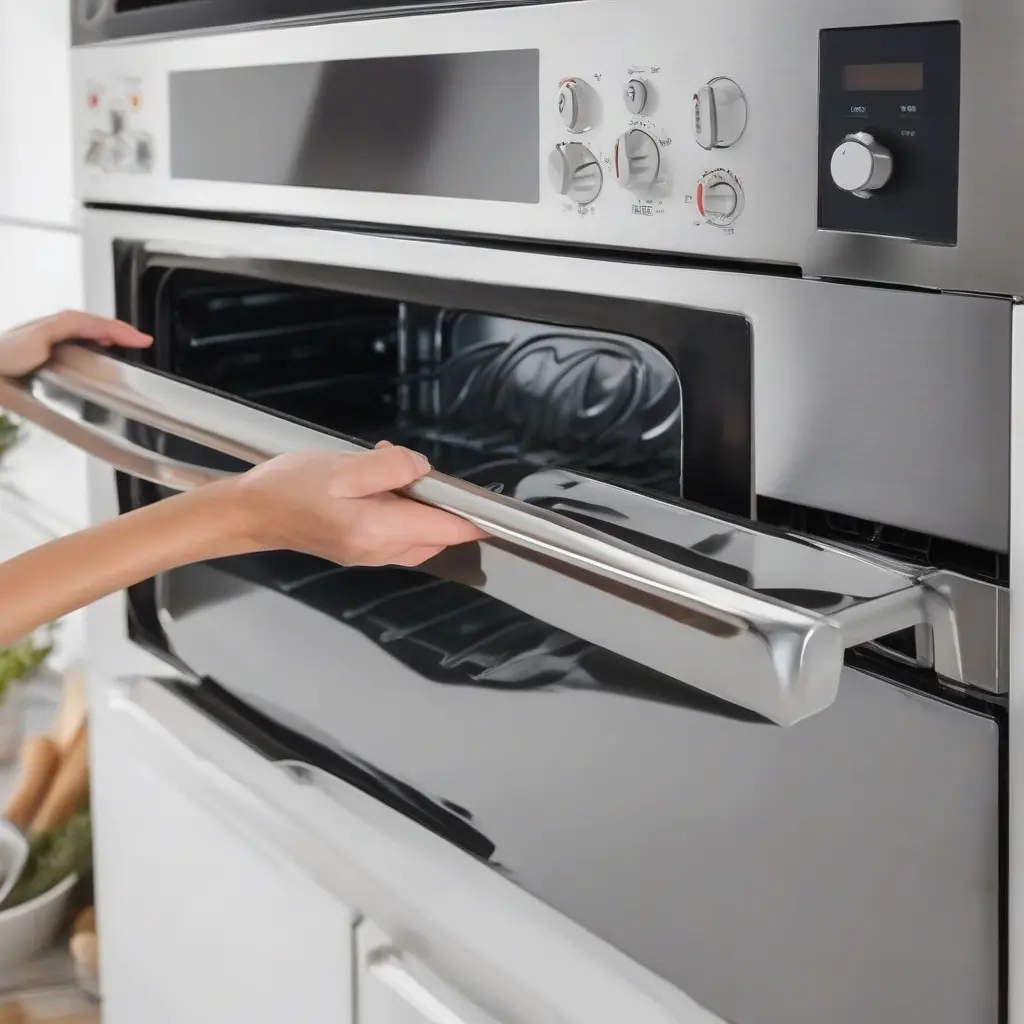
While the interior cleaning is essential, don’t neglect the exterior of your microwave. Start by wiping down the door, handle, and control panel with a damp cloth, ensuring you remove any fingerprints and grease marks. For added disinfection, consider using a vinegar solution or all-purpose cleaner suitable for kitchen appliances. It’s important not to use abrasive materials, as these can scratch the surface. A clean exterior significantly enhances the overall aesthetic of your kitchen.
Deodorize with Baking Soda
After completing the initial cleaning, it’s a great idea to deodorize your microwave. Simply place a bowl filled with baking soda in the microwave for about twenty-four hours. This natural deodorizer effectively absorbs lingering odors from previous meals, leaving your appliance smelling fresh. If you’re in a hurry, you can also microwave a bowl of water mixed with baking soda for a few minutes as a quicker alternative. This additional step ensures your microwave not only looks clean but also smells inviting.
Maintain Regular Cleaning Schedule
To prevent the buildup of grime and odors in your microwave, establish a regular cleaning schedule. Aim to clean the appliance weekly or bi-weekly, depending on your cooking habits. Quick wipes after each use can help maintain a clean environment, while a deep clean every month will keep it in top condition. This proactive approach minimizes the effort needed for major clean-ups and prolongs the life of your microwave. Consistency is key to ensuring your appliance stays in prime condition over time.
Conclusion
Deep cleaning your microwave doesn’t need to be a cumbersome task. By following this step-by-step guide, you can ensure your microwave remains free from stains and odors with minimal time and effort. Regular maintenance not only enhances your cooking experience but also promotes a healthier kitchen environment. By dedicating a little time to this task, you prolong the lifespan of your appliance and enjoy a cleaner kitchen overall.