Deep cleaning your refrigerator and freezer is a crucial task that ensures food safety and maintains the appliance’s efficiency. Over time, spills, food residues, and unpleasant odors can accumulate, making regular maintenance essential. This guide outlines essential steps for achieving a thorough clean, from gathering supplies to the final wipe-down. By dedicating time to this task, not only do you enhance hygiene, but you also extend the lifespan of your refrigerator and freezer, improving energy efficiency and reducing the risk of foodborne illnesses.
Gather Your Cleaning Supplies
Before starting your deep cleaning process, gather all necessary supplies. You will need a vacuum cleaner, a sponge or scrub brush, microfiber cloths, baking soda, white vinegar, and a safe disinfectant. Additionally, prepare a bucket for mixing cleaning solutions and keep a few trash bags handy for discarding expired food. Having everything within reach will save you time and make the entire process much more efficient. Ensure that your cleaning products are food-safe to prevent contamination after the cleaning is completed.
Empty the Refrigerator and Freezer
The first step in the deep cleaning process is to empty both the refrigerator and freezer. Start by taking everything out, placing perishable items in a cooler to keep them at a safe temperature. This will give you a clear view of the shelves and compartments, making it easier to identify spills and hidden messes. As you empty the space, check expiration dates and discard any spoiled or outdated food. This also serves as a good opportunity to assess your inventory and organize items for easier access.
Remove Shelves and Drawers
Once the refrigerator and freezer are empty, it’s essential to remove shelves and drawers for thorough cleaning. Most shelves and drawers are removable, making it easier to access all surfaces. Wash each piece in warm, soapy water, and let them soak if they have stubborn stains. For thorough disinfection, consider using a mixture of vinegar and water or a specialized cleaner. Allow each item to air dry completely before placing them back to prevent mold and mildew growth.
Clean the Interior Surfaces
With the shelves and drawers removed, it’s time to clean the interior surfaces of your refrigerator and freezer. Start from the top and work your way down to avoid spreading dirt to cleaner areas. Use a solution of equal parts water and white vinegar to wipe down all surfaces, paying special attention to corners and seals where grime tends to accumulate. Rinse with a damp microfiber cloth to remove any residual cleaner, and dry with a clean cloth to ensure no moisture lingers, which can lead to ice buildup.
Tackle Stubborn Stains and Odors
Stubborn stains and odors can be persistent issues in refrigerators and freezers. For tough stains, create a paste from baking soda and water, applying it to affected areas and letting it sit for 15-20 minutes before scrubbing gently. This not only helps remove stains but also neutralizes odors. For persistent smells, placing an open box of baking soda in the fridge and freezer can help absorb unwanted odors moving forward. Regularly replace the baking soda every three months to maintain freshness.
Clean the Exterior of the Appliance
In addition to deep cleaning the interiors, don’t forget about the exterior of your refrigerator and freezer. Use a microfiber cloth with a gentle cleaning solution to wipe down the handles, doors, and sides. Pay attention to any fingerprints or smudges that may have accumulated over time. For stainless steel appliances, a specialized stainless steel cleaner can enhance shine and prevent streaks. Ensure the surface is dry to prevent moisture from affecting electronic components.
Reorganize and Restock with Care
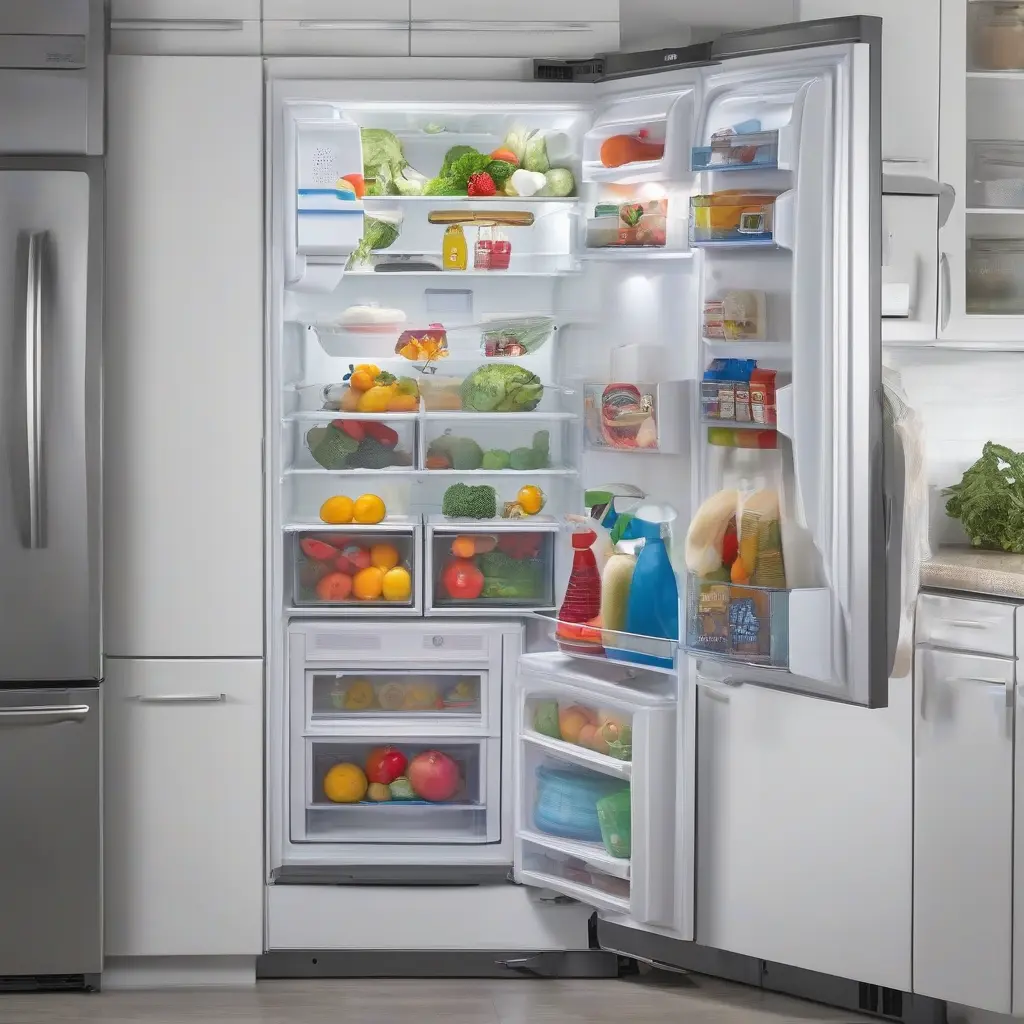
After cleaning, it’s time to reorganize and restock your refrigerator and freezer. Begin by placing back the shelves and drawers in their original positions. As you restock, consider grouping similar items together for easier access, such as dairy products or vegetables. Be mindful of expiration dates, placing items that need to be used first at the front. This not only facilitates efficient usage but also minimizes future waste, making the most out of your cleaned space.
Maintain a Cleaning Schedule
To ensure that your refrigerator and freezer remain clean and efficient, establish a regular cleaning schedule. Aim for a deep clean every three to six months, depending on usage. In addition to this, perform quick cleanings weekly or bi-weekly by checking for expired items and wiping spills immediately. Consistent maintenance reduces the build-up of grime and odors and helps you keep your food inventory organized, ultimately leading to a safer food environment.
Troubleshooting Common Issues
Even with regular cleaning, you may encounter common refrigerator issues such as odors or excessive ice build-up. If persistent odors remain after cleaning, check for spills in hard-to-reach areas like the back or under shelves. For ice build-up in the freezer, ensure the door seals are intact and the appliance is set to the correct temperature. Addressing these issues promptly can prevent bigger problems down the line and keep your appliances running efficiently.
Conclusion
Deep cleaning your refrigerator and freezer is essential for maintaining food safety and the longevity of the appliances. By following these steps diligently, you can ensure a clean and organized storage space for your food items. Regular maintenance not only enhances hygiene but also contributes to the efficient functioning of your appliances. With a little effort and a consistent cleaning schedule, you can enjoy a fresh and safe cooking environment.